If you're looking to start Mixxx Shoutcast streaming in 2026, you're in the right place. Whether you're a radio DJ, music streamer, podcaster, church broadcaster, school radio station, or live event host, this step-by-step guide will show you exactly how to connect Mixxx to a Shoutcast server and go live with professional-quality audio.
Mixxx is free, open-source DJ software packed with powerful broadcasting features. When paired with reliable Shoutcast hosting, you can stream to unlimited listeners worldwide with stable, secure, SSL-enabled delivery.
What You Need Before You Start
Before setting up Mixxx Shoutcast streaming, make sure you have the following essentials ready.
1. A Shoutcast Hosting Account
You need a live Shoutcast server to broadcast your audio. If you don’t have one yet, you can get started with Shoutcast Net from just $4/month, including:
- ✔ 7-day free trial (start here)
- ✔ 99.9% uptime guarantee
- ✔ SSL (HTTPS) streaming
- ✔ Unlimited listeners
- ✔ Built-in AutoDJ
2. Mixxx DJ Software (Latest Version)
Download and install the latest version of Mixxx from the official website. Mixxx runs on Windows, macOS, and Linux and includes built-in broadcasting tools compatible with Shoutcast and Icecast.
3. Stable Internet Connection
A wired Ethernet connection is strongly recommended for live broadcasting. Upload speed should be at least 2x your chosen bitrate. For example, a 128 kbps stream should have at least 256 kbps stable upload available.
Pro Tip
Always test your upload speed during the time you plan to broadcast. Evening congestion can affect stream stability, especially for DJs streaming from home.
Create Your Shoutcast Server Account
If you haven’t already created your Shoutcast server, follow these steps.
Step 1: Choose a Hosting Plan
Visit the Shoutcast hosting shop and select a plan based on:
- Desired bitrate (e.g., 128 kbps or 320 kbps)
- Expected audience size
- Storage needs for AutoDJ
Step 2: Access Your Server Details
After signup, log into your control panel. You’ll find:
- Server Address (Hostname)
- Port Number
- Source Password
- Stream URL
Keep this information ready — you’ll need it inside Mixxx.
Pro Tip
Choose a server location closest to your broadcasting location for lower latency and better stability.
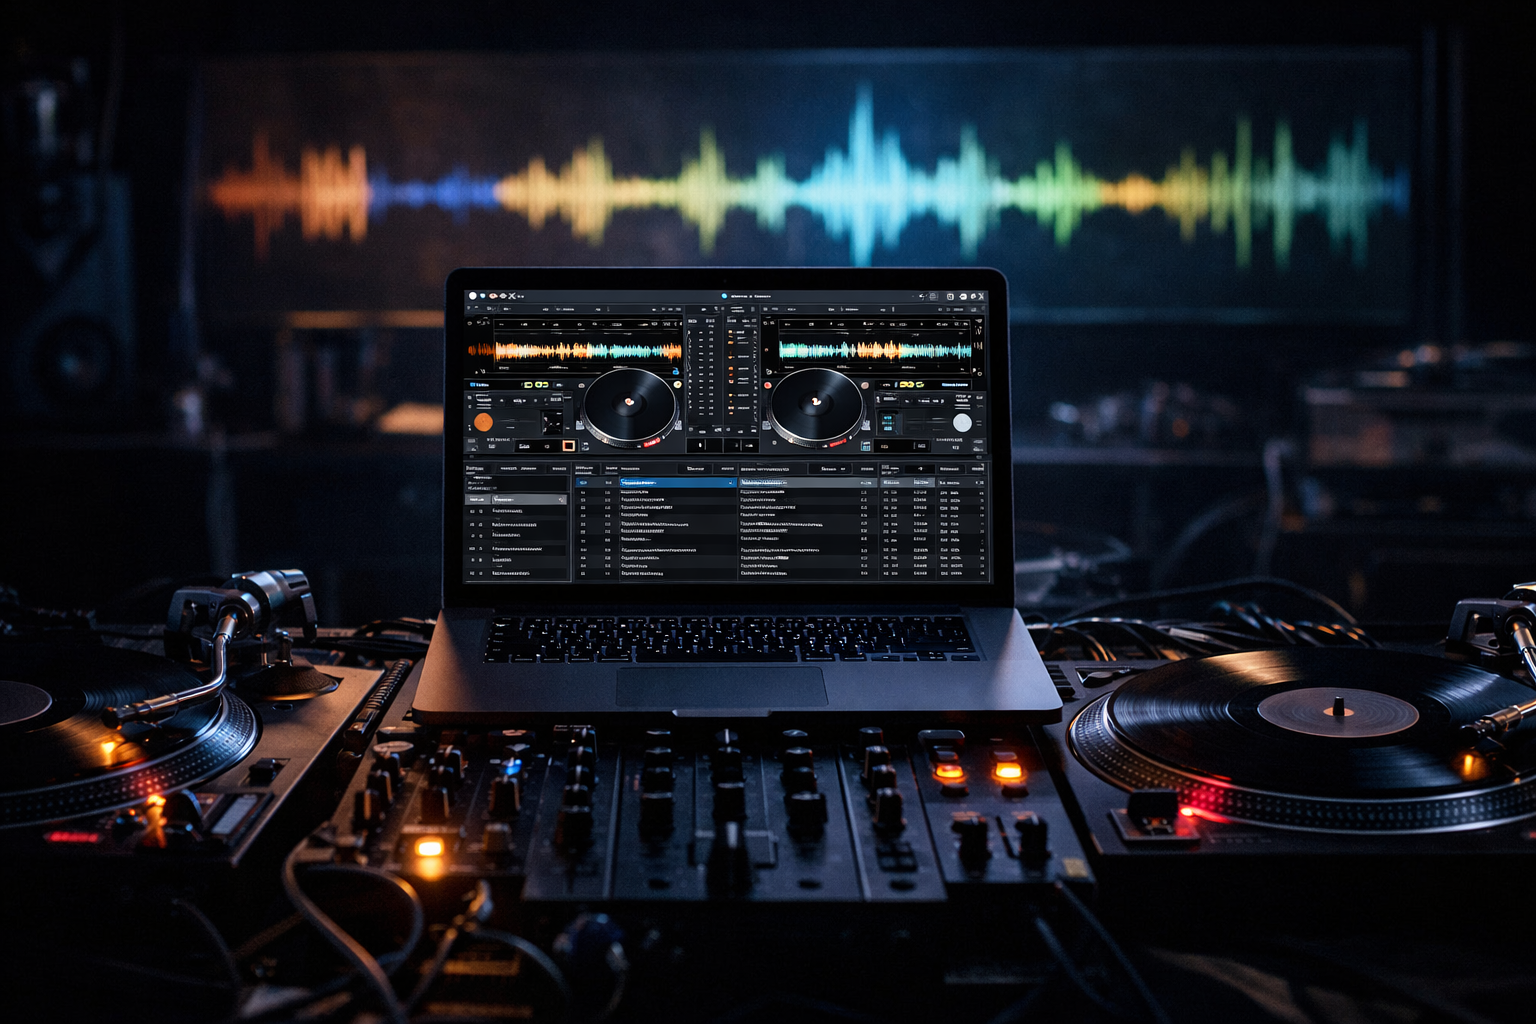
Install and Configure Mixxx for Broadcasting
Step 1: Install Mixxx
Download and install Mixxx. Once installed, launch the application.
Step 2: Open Broadcasting Preferences
In Mixxx:
- Go to Options
- Select Preferences
- Click on Live Broadcasting
This is where you’ll configure your Shoutcast connection.
Step 3: Select Server Type
From the server dropdown menu, choose:
ShoutcastMake sure you select Shoutcast (not Icecast), unless your provider specifically uses Icecast. If you're using Icecast instead, check our Icecast hosting options.
Pro Tip
Always update to the latest Mixxx version. Broadcasting bugs and compatibility issues are often fixed in newer releases.
Enter Shoutcast Server Details in Mixxx
Now it's time to connect Mixxx to your Shoutcast server.
Enter the Following Fields:
| Mixxx Field | What to Enter |
|---|---|
| Host | Your server hostname (e.g., stream.shoutcastnet.com) |
| Port | Your assigned port number |
| Password | Your source password |
| Mount | Leave blank (for Shoutcast) |
Double-check for typos. One incorrect digit in the port or password will prevent connection.
Enable SSL (If Available)
If your host supports SSL streaming (Shoutcast Net does), enable secure connection if the option is available in your version of Mixxx.
Pro Tip
If connection fails, temporarily disable your firewall to test. Many issues are caused by outbound port blocking.
Optimize Audio Settings and Bitrate
Choosing the right bitrate ensures the best balance between sound quality and listener compatibility.
Recommended Bitrates
| Bitrate | Best For |
|---|---|
| 64 kbps | Talk radio, church services |
| 128 kbps | Standard music streaming |
| 320 kbps | High-quality DJ sets |
Configure Encoder Settings
In the Live Broadcasting section, choose:
- Format: MP3 (most compatible)
- Bitrate: 128 kbps (recommended starting point)
- Channels: Stereo
- Sample Rate: 44100 Hz
Pro Tip
If you're using AutoDJ as a backup, match your live bitrate to your AutoDJ bitrate to prevent stream reconnection delays.
Go Live and Test Your Stream
Step 1: Start Broadcasting
Click Enable Live Broadcasting in Mixxx. If everything is configured correctly, Mixxx will connect to your Shoutcast server within seconds.
Step 2: Test Your Stream
Open your stream URL in:
- A web browser
- VLC Media Player
- Your station’s website player
Confirm:
- Audio is clear
- No buffering or dropouts
- Metadata (track titles) updates correctly
Step 3: Monitor Listener Stats
Log into your Shoutcast control panel to monitor listener count, bandwidth usage, and stream health in real time.
Pro Tip
Always do a private test stream before promoting your live show. Catching issues early protects your professional reputation.
Ready to Start Streaming?
Mixxx Shoutcast streaming is one of the most affordable and powerful ways to run an online radio station in 2026. With professional hosting starting at just $4/month, unlimited listeners, SSL streaming, built-in AutoDJ, and a 7-day free trial, there’s no reason to delay your launch.
👉 Start your station today with Shoutcast Net’s free trial and go live with Mixxx in minutes.